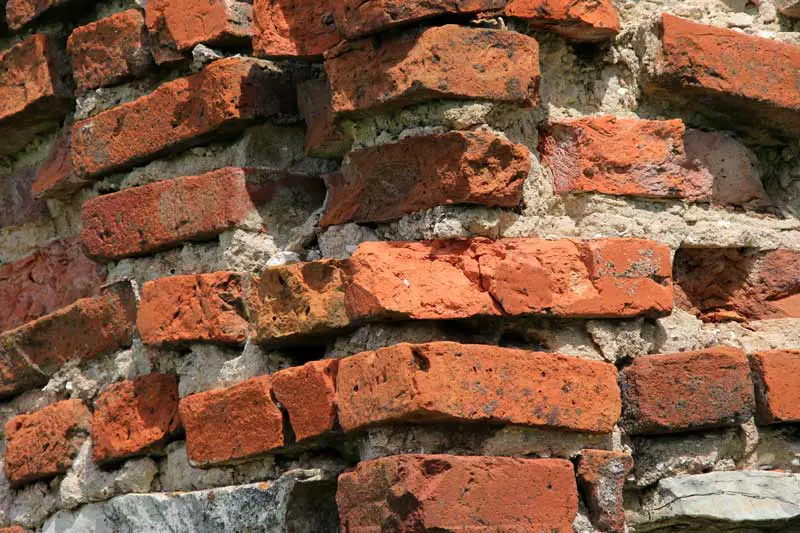
It can be extremely frustrating to see new lime mortar failing. Usually, the mortars are cracked, crumbly or have not adhered to the surface properly. When mortar fails, it almost always needs to be replaced. But why does lime mortar fail, and how can it be prevented?
Several different factors will cause lime mortar to fail. Common reasons are a lack of moisture control, causing the mortar to dry out without curing. Lack of protection from the elements, such as rain, wind, sun and frost. These conditions can all cause lime mortars to fail if they aren’t properly accounted for. Poorly prepared mortars can also fail; these are either insufficiently mixed or with the wrong aggregates or ratio of aggregate to lime.
Let’s take a deeper dive into the reasons lime mortars can fail and how you can prevent your lime mortar from failing.
Causes of Lime Mortar Failure and How to Prevent Them
Several reasons can cause lime mortar, plaster or render to fail. Some are easily preventable, and others will require more drastic measures. Let’s take a look at some of the most common issues.
Poor Moisture Control and Aftercare
When building with lime mortar, plaster or render, it’s extremely important to understand the curing processes of the different limes. Putty-based (fat lime) building materials cure by absorbing carbon dioxide out of the air. This is a slow process that can sometimes take weeks or even months.
There is a massive difference between the lime “drying out” and the lime curing. If lime dries out too quickly, it will not have absorbed enough CO2 to harden. If this happens, the mortar or plaster will have little to no strength and will likely be crumbly and cracked.
Hydraulic limes set via a reaction with water, which makes them less sensitive to “drying out”. Even still, drying too quickly can cause failures. For all lime building materials, the first few days are critical. They must be mist sprayed regularly to control the drying process.
Related article: Quicklime vs Fat Lime: The Differences and Their Uses
For the best results, lime mortar should cure very slowly. Regular mist spraying, hanging hessian sheets, and other ways of protecting the lime from the elements are important. Generally, the slower the lime sets, the better the results. Lime mortars, especially putty-based ones, should take two weeks to a month or more to fully set. Hydraulic limes can usually set a bit faster, depending on the strength used.

Improper Mixing or Proportioning of Aggregates
It’s important that lime mortar, plaster and renders are mixed thoroughly before use. You need to ensure the lime is evenly distributed throughout the mortar or plaster you are making. If they aren’t, some parts of the mix will become lime-rich, and some will be lime poor.
As the mortar or plaster dries and cures, you will notice any lime-poor areas becoming dusty, cracked and crumbly, as they do not have enough binder to form a proper set. If you are using a standard drum concrete mixer, you should give the lime you are preparing a good 30 minutes of mixing before use.
In addition, if you are making hydraulic lime mortar or plaster, mix the hydraulic lime powder and aggregate together while it’s dry for 5 minutes. Then very slowly, add water until it reaches your desired consistency. After this, mix for another 20 minutes, ensuring no mortar is stuck to the back of the mixer. All of these techniques will ensure a good, evenly distributed mix.
Finally, you must ensure the proportions of lime to aggregate are correct for your application. Ensure you properly measure the volume of the materials added with a bucket. Standard lime mortars are around 1:3 lime to aggregate. Plasters are around 1:2.5 or 1:2. Weak lime mortars will likely not properly set and will be crumbly and friable.
Related article: Why Lime Mortar Crumbles: Understanding the Causes
Exposure to Harsh Weather Conditions Like Frost, Sun, Wind or Rain
Lime building materials aren’t great at coping with harsh weather. Stong sun can cause them to dry too quickly, resulting in a weak and likely crumbly mortar. In addition, strong winds can also cause quick drying. If you find yourself using lime in these conditions, use hessian sheeting.
Hang a hessian sheet a couple of inches in front of the area that is curing. It wants to be as close as possible without brushing against and damaging the fresh mortar or plaster. Usually, it’s best practice to keep the hessian sheet damp; this will raise humidity between the wall and the sheet, which will help to control the drying and curing process.
If you can, avoid working in conditions below 5°C with lime building materials. The lower the temperature, the slower the set time. If lime gets frosted, it will likely need to be completely replaced. Your best bet is to try and get a 2-week period that looks frost free; this will allow the mortar to cure enough so that the frost won’t cause any damage.
If you can’t avoid the frosty weather, you can use lots of hessian sheets as insulation. Some people have kept lime work warm with outdoor heaters, although this can be extremely costly.
Finally, heavy rain can wash the lime out if it hasn’t cured. This will leave behind an aggregate with no binder, which won’t properly set. If working in the rain can’t be avoided, again, hessian sheets can help to protect the mortar. This will only work to a point, as very heavy rain can still get through and affect the mortar or plaster.
Related article: The Effects of Freezing on Lime Mortar and Plaster
Improper Techniques used When Applying the Mortar
There are some important considerations to make when applying mortar that can affect its failure rate. Firstly, many people don’t sufficiently wet down the area before applying mortar or plaster. This is important for two main reasons; it helps wash any dust out, which can stop the mortar from properly bonding with the substrate.
Wetting the area down properly also stops the mortar from having the moisture sucked out by the masonry before it begins curing. Always ensure you wet the wall well, and keep the immediate area you are working on damp as you work. This is especially important for high-suction backgrounds, such as brick.

Lastly, as lime mortars cure, they shrink. They must be compressed back in while they are still mouldable. You may notice some shrinkage cracks in fairly fresh lime mortar; this is perfectly normal. Ensure you compress the mortar back into the joint and control the drying process.

