There’s a lot of conflicting information on mixing lime mortars. In today’s building, little thought is given to the method of mixing mortar. Often the ingredients are tossed into a mixer, and that’s it. Whilst you can do this with lime, many people ask whether it’s possible to mix lime mortar by hand manually.
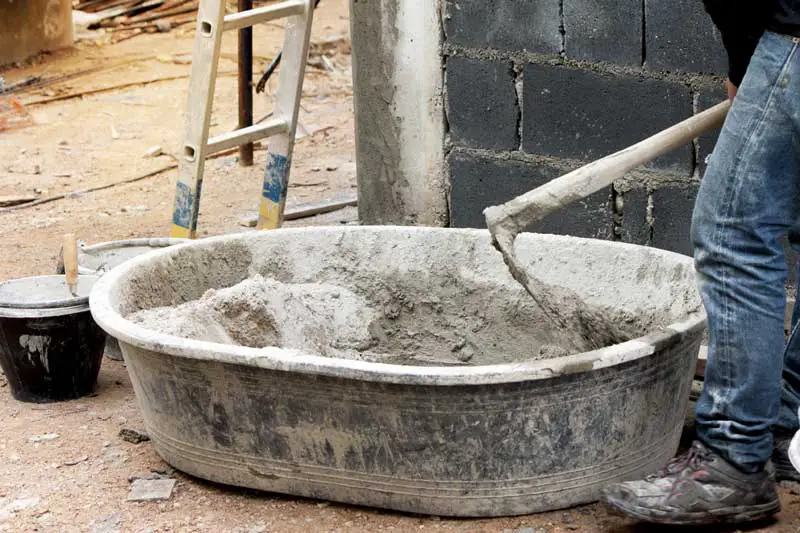
Lime mortar can be mixed manually by hand. This can take a fair amount of time but will often result in a fantastic mortar. Lime mortars can be mixed on a spot board, in a trough, wheelbarrow, bucket or another suitable area. Small amounts of mortar can be mixed with a bricklaying towel. It’s common to mix larger amounts with a shovel, hoe or larry (a smaller hoe designed for mixing mortars). An alternative is to use a paddle mixer; this will be a bit quicker and easier than by hand but won’t create as high a quality of mortar.
How To Mix Lime Mortar Manually By Hand
You can mix lime mortars with very simple tools. Mixing lime mortars by hand is a fairly simple process. The difficulty in mixing lime mortars is the time and effort they will require when doing it by hand. Let’s look at the different tools used to mix lime mortars and the various methods.
Tools for mixing lime mortars
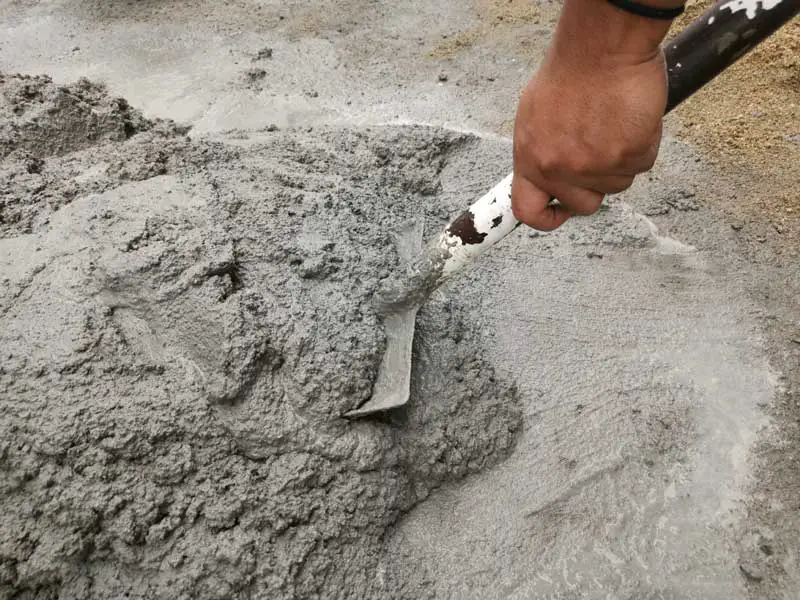
Mixing small amounts of lime mortar for repair jobs is a fairly easy process. A bricklaying trowel and a spot board or surface you don’t mind getting dirty will be perfect for mixing a small amount of mortar. Larger amounts of mortar can be mixed using shovels, hoes or larrys (a type of hoe for mixing mortars). Larger batches can be mixed in a wheelbarrow, a builder’s trug or a clean, hardstanding surface.
There are alternatives if you still want to mix your own mortar but aren’t keen on using as much elbow grease. Of course, you can use a cement mixer, although they aren’t very well suited to mixing lime mortars. A paddle mixer would mix the mortar better than a standard drum cement mixer. The ultimate way of mixing lime mortars is with a roller-pan mixer.
Picking the correct aggregates for mixing lime mortars
Once you have decided what tools you will use to mix your mortar, you will require an aggregate and lime. Sharp-washed and well-graded sands are best for making lime mortars. The aggregate size is also an important factor to consider. Generally speaking, the maximum aggregate size should be no more than one-third of the joint width. So a 3 or 4mm down sand will be suitable for around a 9-14mm joint.
You can usually tell if sand is sharp by visually inspecting it. The individual grains should appear angular and sharp. If the grains are mostly round, this is known as ‘soft’ sand. Soft sands will make a poorer lime mortar. Sharp-washed sands should be available from any builder’s merchant, but if in doubt, go to your local specialist lime supplier.
Well-graded sand is a type of sand which contains good proportions of large, medium and small particles. Again, you can visually check for this. Check to see that there’s a good even range of particle sizes from the largest to the smallest. Most sands at builder’s merchants will be well-graded. It’s always worth paying more for sharp-washed well-graded sand as the resulting lime mortar will be much more superior.
Related article: What Type of Sand is Best For Making Lime Mortar?
Selecting the correct type of lime for your mortar mix
Two main types of lime can be used to make lime mortars. Hydraulic lime and lime putty (fat lime). It’s important not to confuse hydraulic lime with hydrated lime. Hydrated lime, also known as builder’s lime, should never be used to make lime mortars. It’s only suitable as an additive. Commonly it’s added to cement mortars to help improve workability and plasticity.
Lime putty makes the best lime mortars. Mortars made with putty will be extremely workable and plastic. If you can, you should always try to use lime putty; it will protect the masonry best. However, in more exposed wet areas, hydraulic lime will be needed. As a general rule, NHL 2 is for damp internal works where putty would not be able to cure. NHL 3.5 is for general exterior building that is moderately exposed. NHL 5 for extremely exposed areas, such as chimneys.
Remember, mortars should always be weaker than masonry! Common ratios of lime to aggregate for most general mortars are 1:3 or 1:2.5 lime: aggregate.
How to mix the lime mortars by hand
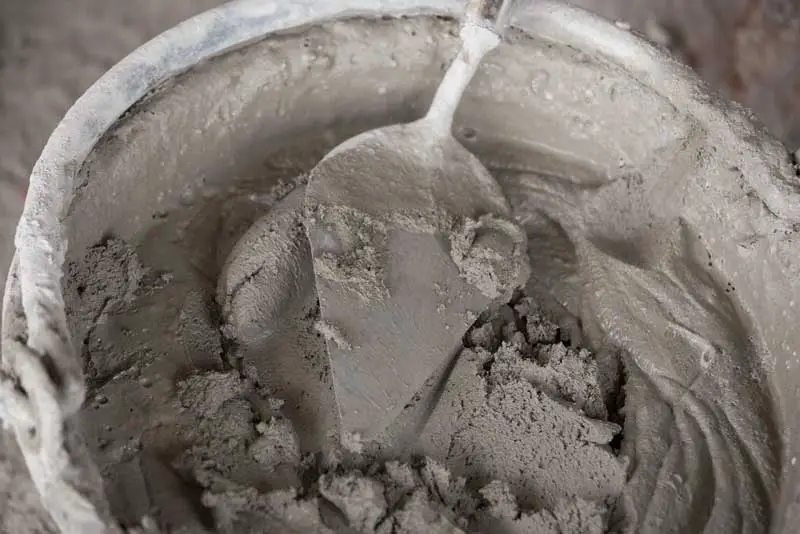
When mixing lime mortars by hand, it’s important not to simply turn the aggregates. Chopping and beating the mortar will help to plasticise it. If you’re using lime putty, it’s important not to add water too soon. The more you work the putty, the softer and more flowing it will become. When using hydraulic lime, add very small amounts of water and mix well before adding more. We are looking for a workable, sticky mortar which isn’t too stiff or soft. The less water you add, the less shrinkage will occur.
Lime mortars need more mixing and beating than cement mortars. The longer you mix and work the mortar, the better it will become (especially true for putty-based mortars). For a strong lime mortar, you must ensure every grain of sand is well mixed with lime. As a rough guideline, lime mortars mixed in a drum cement mixer will require at least 20 minutes for a reasonable mortar.
This doesn’t mean you have to mix mortars for that long by hand. If you chop, beat and turn the mortars, they can often be mixed fairly quickly by hand.
How Long Will Lime Mortars Keep For Once Mixed?
If you are mixing lime mortars ahead of time, it’s important to know how best to store them so they are workable for as long as possible. As you may or may not know, lime putty mortars set via a reaction with carbon dioxide in the air called carbonation. This means that lime putty and lime putty-based mortars can keep indefinitely as long as they are kept in airtight containers and frost free. Frost will render the putty useless. Generally, any frosted lime can be scraped off; however, a deep frost will likely ruin the whole batch.
Hydraulic lime mortars are slightly different. They set via a reaction with water called hydrolysis. This means that once mixed, the lime mortars will need to be used within a certain amount of time. The stronger the hydraulic lime, the quicker it will set. You would probably be okay leaving an NHL 2-based lime mortar overnight. An NHL 5 lime mortar may only stay workable for a few hours. Generally, as you use the mortars throughout the day, you will be able to determine whether you can prepare or leave mixed mortar overnight.
Hydraulic lime bags are usually made of paper, like some cement bags. As hydraulic lime reacts with water like cement, it will need to be stored suitably. The bags should be kept away from water. They should be stored in a sheltered, dry area. Hydraulic lime can be used for 6-12 months after purchase. Some manufacturers print use-by dates on the bags. You can always speak to your local lime suppliers if you’re in doubt.
Related article: Understanding the Strength of Lime Mortar vs Cement Mortar
